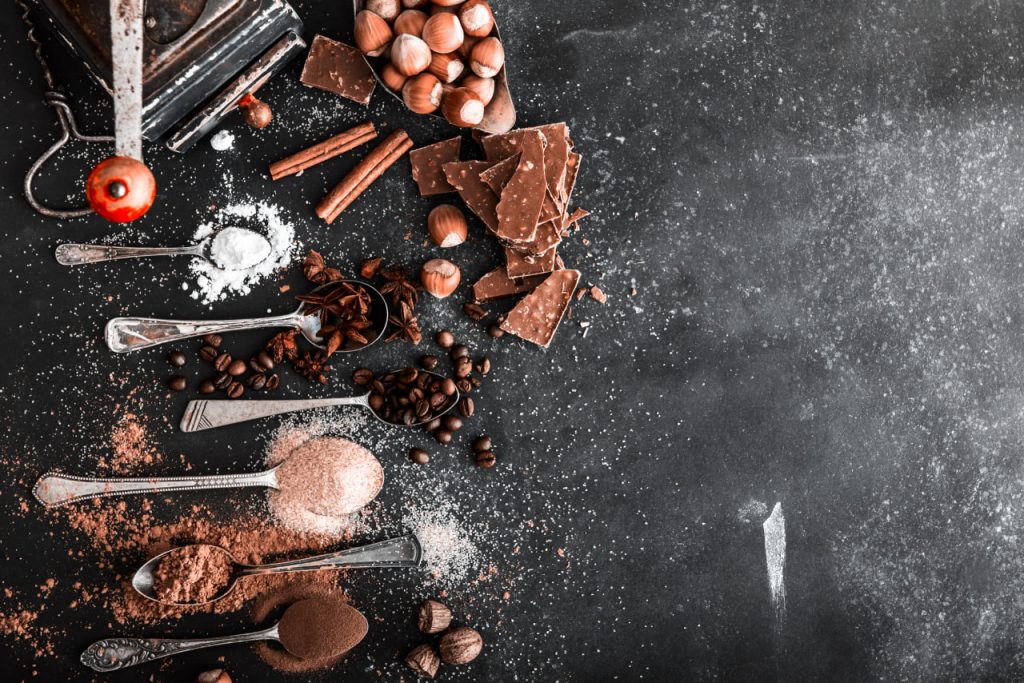
When it comes to professional-quality chocolate, tempering is the secret ingredient that makes all the difference. It’s what gives chocolate that glossy finish, that crisp snap when you break a bar, and the smooth texture that melts perfectly in your mouth.
But what exactly is tempering, and how can you master it at home? Let’s dive into the world of chocolate science.
Why Tempering Matters
Tempering is the process of heating and cooling chocolate to stabilize the cocoa butter crystals inside. Without tempering, chocolate will look dull, may have white streaks (called “bloom”), and will melt too easily in your hands. Properly tempered chocolate, on the other hand, is smooth, shiny, and stable at room temperature — perfect for dipping, molding, or making bonbons.
The 3 Main Methods of Tempering
There are several ways to temper chocolate. Here are the most popular ones:
- Tabling (Marble Method):
Melt chocolate and pour about two-thirds onto a cool marble slab. Spread and scrape it repeatedly until it cools, then mix it back into the remaining warm chocolate. This traditional method requires skill but delivers excellent results. - Seeding Method:
This is a great option for beginners. Melt most of your chocolate, then add finely chopped tempered chocolate (the “seed”) to bring down the temperature and help form stable crystals. - Microwave Method:
Melt chopped chocolate slowly in a microwave at short intervals, stirring frequently. With careful temperature control and patience, this method can work well for small batches.
Target Temperatures for Tempering
Depending on the type of chocolate you’re working with, the tempering temperatures vary slightly:
- Dark Chocolate: Melt to 45–50°C → cool to 27–28°C → reheat to 31–32°C
- Milk Chocolate: Melt to 40–45°C → cool to 26–27°C → reheat to 29–30°C
- White Chocolate: Melt to 38–43°C → cool to 25–26°C → reheat to 28–29°C
Use a good digital thermometer for accuracy — it’s your best friend in this process.
Tips for Perfect Tempering
- Always use high-quality couverture chocolate with a high cocoa butter content.
- Avoid contact with water — even a drop can ruin your chocolate.
- Stir constantly during cooling to encourage crystal formation.
- Test the temper by dipping a spoon or knife in the chocolate — if it sets within a few minutes and looks shiny, you’re good to go!
Tempering can feel intimidating at first, but with practice, it becomes second nature. And once you get it right, your chocolate creations will not only taste amazing — they’ll look like they came straight out of a professional chocolatier’s kitchen.
Ready to give it a try? Join our Chocolate Making Lab course and master tempering (and much more) step by step!
